

Before removing a tree, you’ll need to assess risks like power lines, decay, and nearby structures. Always wear proper safety equipment including hard hat, cut-resistant gloves, and steel-toed boots. Establish clear drop zones at twice the tree’s height and use proper cutting techniques—notch first, then back cut. Contact utility companies 48 hours beforehand, and protect property with plywood sheets and temporary fencing. Proper planning and equipment transform a dangerous task into a manageable one.
Expert Highlights
- Always conduct a comprehensive risk assessment to identify hazards like power lines, decay, and structural instability before beginning removal.
- Use proper safety equipment including hard hat, eye/ear protection, cut-resistant gloves, and steel-toed boots for personal protection.
- Establish clear drop zones at least twice the tree’s height and use standardized communication signals during felling operations.
- Contact utility companies at least 48 hours before work begins to locate and avoid underground and overhead lines.
- Employ controlled dismantling techniques for large trees, removing sections from top to bottom with proper rigging equipment.
Risk Assessment: Evaluating Tree Removal Hazards Before Starting
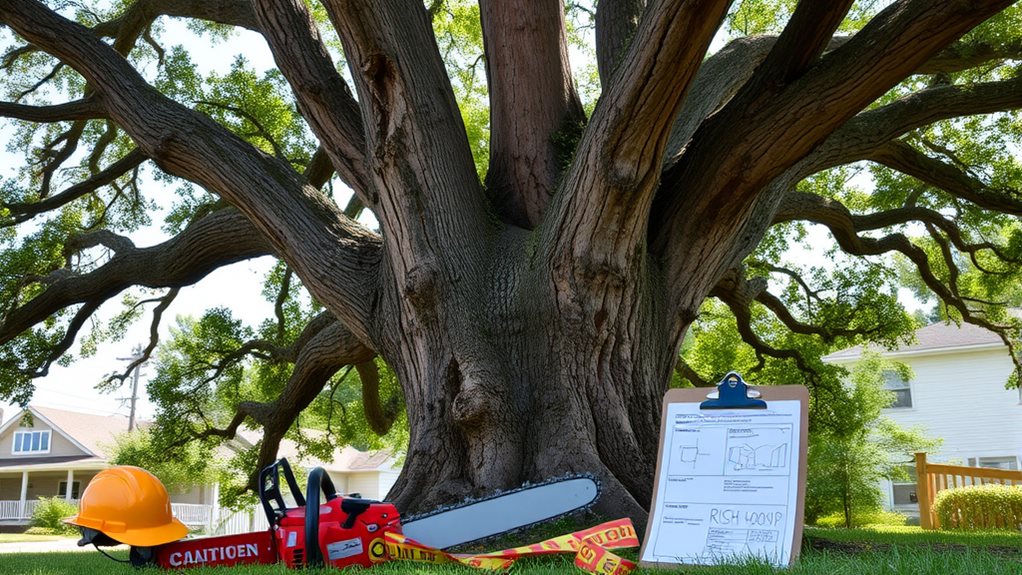
Before you even consider starting a tree removal project, conducting a thorough risk assessment is the most essential step you’ll take. Identify potential dangers such as proximity to power lines, structural instability, or decay that could cause unpredictable falling patterns. Look for signs of disease or hollow sections that might compromise the tree’s integrity during removal.
You’ll need to evaluate your surroundings carefully, noting obstacles like buildings, vehicles, or landscaping features that could be damaged. Weather conditions also play a critical role—high winds, rain, or lightning increase accident risks substantially. Once you’ve identified these hazards, develop a detailed removal plan that accounts for each risk factor. This preparation isn’t just bureaucratic caution—it’s your blueprint for avoiding property damage, personal injury, or even fatalities during the removal process.
Essential Safety Equipment for Professional and DIY Tree Removal
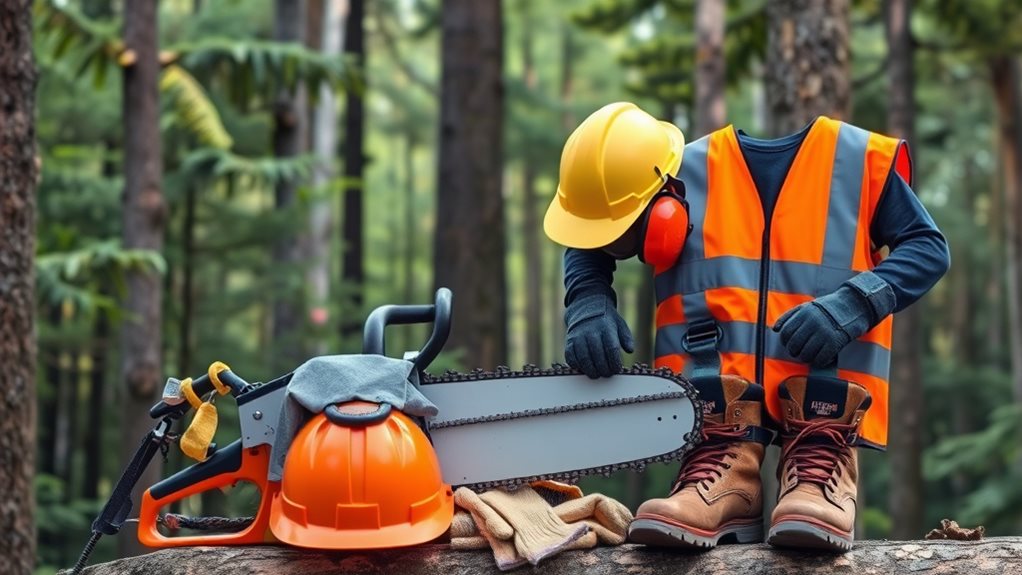
After identifying and evaluating potential hazards, you’ll need the right protective gear to safely execute a tree removal project. At minimum, your safety kit should include a hard hat to protect against falling branches, safety glasses to shield your eyes from debris, ear protection for chainsaw noise, cut-resistant gloves, and steel-toed boots with ankle support.
For professional-grade protection, invest in chainsaw chaps or pants that contain specialized fibers designed to jam the chainsaw chain upon contact, potentially saving your legs from severe injury. Don’t overlook the importance of a proper climbing harness and ropes if you’ll be working at heights. Many DIYers make the critical mistake of using inadequate equipment, putting themselves at unnecessary risk of concussions, lacerations, or falls that could result in permanent disability or death.
Proper Techniques for Controlled Felling and Sectional Dismantling

Controlled tree felling and sectional dismantling represent the most critical and dangerous phases of tree removal, where proper technique makes the difference between a safe operation and a potentially fatal accident. You’ll need to establish clear drop zones of at least twice the tree’s height and communicate with your team using standardized hand signals or radios. Always cut your notch (30% into the trunk) on the fall side first, then make your back cut slightly higher than the notch to create a hinge that controls the fall direction.
For larger trees requiring sectional dismantling, work from top to bottom, removing manageable pieces that won’t damage property below. Use properly secured rigging equipment to lower heavy limbs gradually, and never stand directly under branches being cut, as a falling 12-inch limb can generate over 2,000 pounds of force.
Managing Utility Conflicts and Property Protection Strategies
When working near utility lines, tree removal becomes considerably more hazardous, requiring specialized knowledge and additional safety protocols beyond standard felling techniques. You’ll need to contact utility companies at least 48 hours before work begins to locate underground lines and determine if overhead lines need de-energizing during operations. Property protection requires careful planning to prevent damage to structures, landscapes, and neighboring properties.
- Use plywood sheets over lawns and gardens to minimize soil compaction and damage from falling debris
- Install temporary fencing to protect vulnerable landscaping features within the work zone
- Place padding against structures where branches might fall or swing during controlled descents
- Employ directional rigging techniques to guide sections away from power lines, buildings, and decorative elements
Proper insurance coverage is essential before beginning any tree removal project near utilities or valuable property.
Post-Removal Site Safety and Debris Handling Protocols
Once the tree has been successfully removed, the job isn’t complete until you’ve properly addressed site safety and managed the resulting debris. The post-removal area presents several hazards: unstable ground from root removal, scattered wood chips that create slipping hazards, and potentially dangerous equipment left unattended. You’ll need to thoroughly inspect the site, filling in holes and depressions to prevent accidents.
For debris management, you’ll want to establish a designated processing area away from foot traffic. Sort materials appropriately—larger logs for firewood, branches for chipping, and stumps for grinding. Remember that improper debris handling can result in code violations from your municipality. Many communities have specific guidelines for organic waste disposal, so check local regulations before proceeding. Proper cleanup not only prevents injuries but also protects you from liability issues that could arise from negligent site management.
Frequently Asked Questions
How Much Does Professional Tree Removal Typically Cost?
You’ll pay $400-$1,200 for professional tree removal, though costs vary based on your tree’s size, location, and complexity. Larger trees near structures will cost more than smaller, isolated ones.
Can I Remove a Tree Without a Permit?
Permit requirements vary by location. You’ll need to check with your local municipality, as many areas require permits for tree removal, especially for larger trees or protected species.
When Is the Best Season to Remove Trees?
Fall and winter are your best seasons for tree removal, when trees are dormant and there’s less wildlife activity. You’ll enjoy better visibility and reduced impact on your landscape.
How Long Does It Take to Remove a Large Tree?
You’ll typically need 4-8 hours to remove a large tree. Complex removals might take a full day, especially if you’re dealing with obstacles or need specialized equipment.
Are There Environmentally Friendly Alternatives to Complete Tree Removal?
Yes, you can opt for crown reduction, selective pruning, or creating wildlife habitats from dead trees. Consider transplanting smaller trees or only removing hazardous sections while preserving the rest.
Expert Final Thoughts
You’ve now learned the critical safety components of professional tree removal, from initial risk assessment to post-work cleanup. Remember, your preparation directly impacts your safety—never shortcuts equipment or technique standards. Whether hiring professionals or tackling smaller projects yourself, these best practices protect your property, nearby structures, and most importantly, human lives. Tree removal combines science, skill, and safety awareness, making proper procedure not just recommended, but essential for preventing serious accidents.